Last Updated on 25/06/2017
Sometimes that working in 3ds max with Skin, Extrude, Sweep and other modifiers as well as with tools in the Editable Poly you get the wrong result expected from them. Model built of lines using the Extrude modifier can be “squashed”. When using a Skin modifier, model can be shifted or rotated or Chamfer in the Editable Poly can create the chamfer not correct size, etc.
All of these problems in the work of the modifiers and tools generally can be solved using the Reset XForm utility. But how it exactly works, we will talk about it with you in this article.
All of the above described problems are usually due to an incorrect location for local axes of objects and applied scale to object. Consider these two issues separately.
Position of the local axes
Simple example:
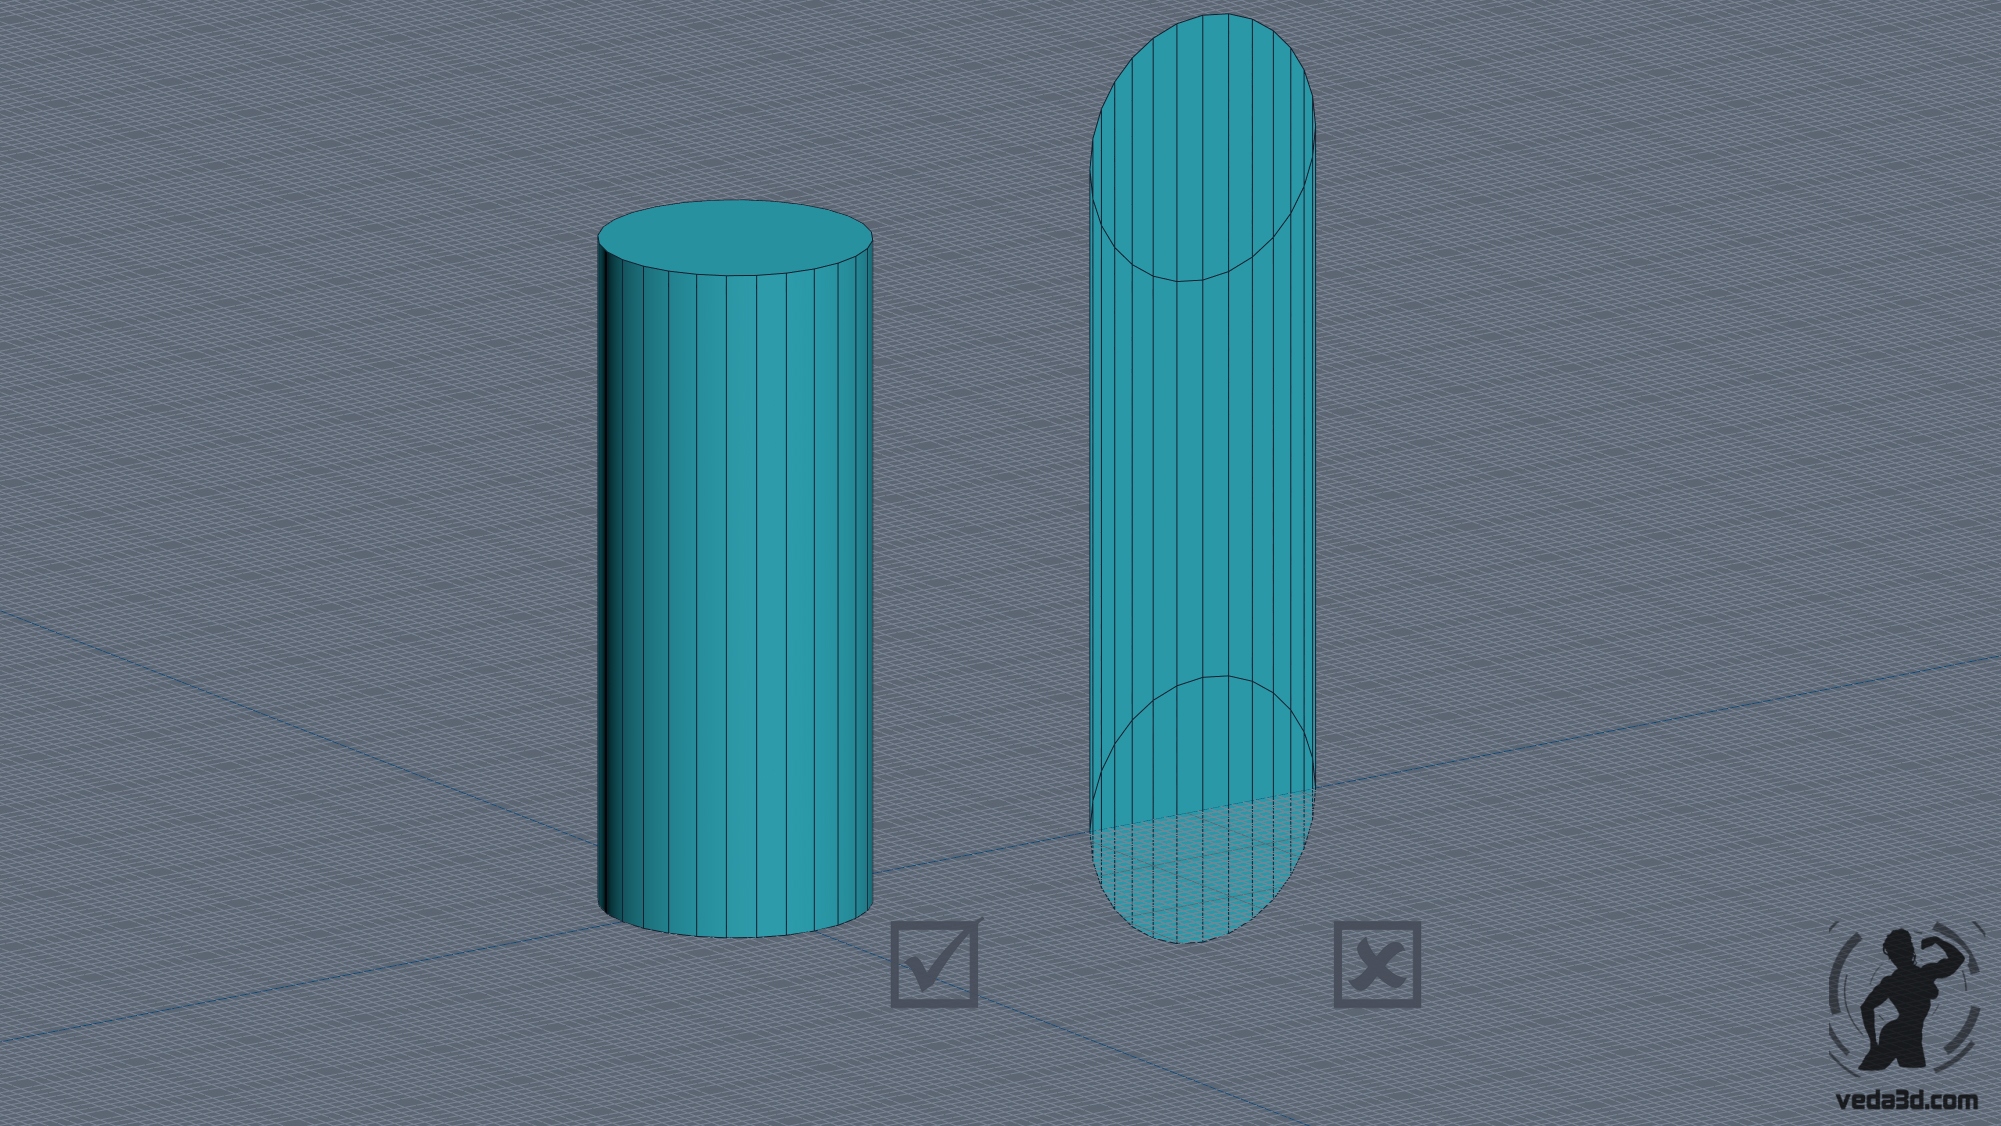
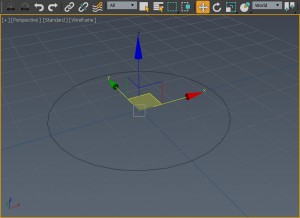
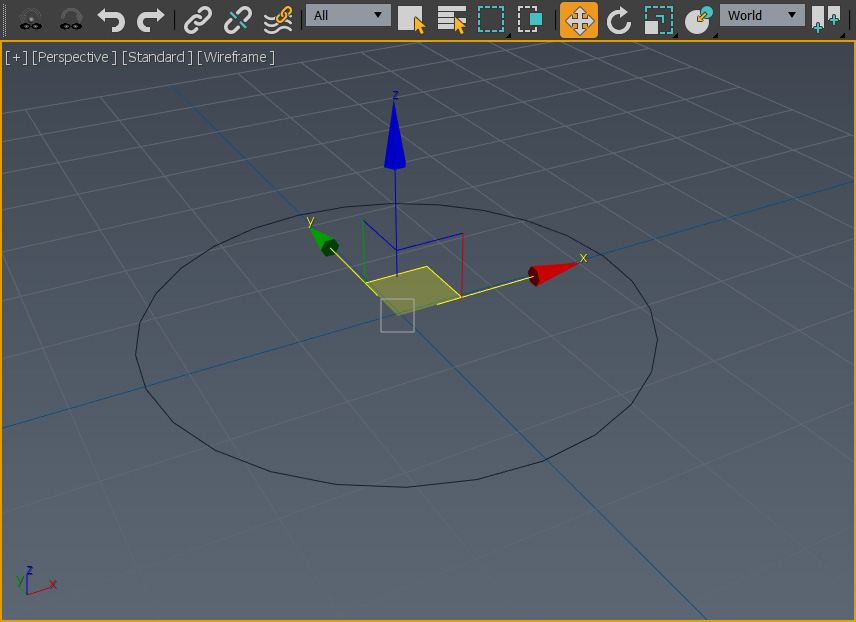
As an example let’s use Extrude modifier, and will create a cylinder from the Circle line applying extrude to it. When you create the Circle object, no matter what viewport is active, when you creating object the local Z axis of it will be perpendicular to the plane of the circle. Extrude modifier that you add to the Circle object extrudes object precisely in the direction the local Z axis of the object. Even if before adding modifier Extrude to the Circle you rotate it, nothing bad will happen, you still get the cylinder, because you rotate it along with local axes.
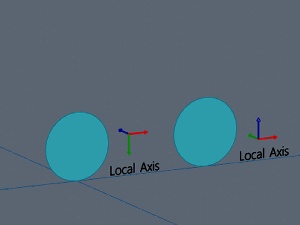
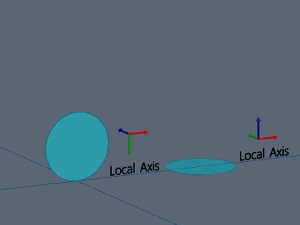
But what if we convert Circle into Editable Spline and in subobject Spline selecting a circle and rotate it to 90 degrees on the X or Y axis before add the modifier Extrude. In which case the local Z axis of the object would remain in place and are no longer would be perpendicular to the plane of the circle. And it means that when you build an object we wouldn’t have the cylinder. We are spoil object intentionally but that if you originally has the spoiled object (like a line), where the local Z axis is not perpendicular to the plane of the line.
In order to fix an object without resorting to manipulation of subobjects we can use Reset XForm utility. This utility rotate the direction of the local axes of the object so that the Local axes will coincide with the direction of the axes in World coordinate system. And what would an object would not change rotation in space, rotation of object’s axes is compensated by turning the gizmo in the XForm modifier which added by XForm Reset utility to the object.
So we have the circle line we want to turn into the cylinder using the Extrude modifier but object what we create not like cylinder. To fix the circle object and build a cylinder let’s use Reset XForm utility as follows:
- Remove/delete/disable Extrude modifier (if it already applied to object).
Rotate the object so the Z axis in World coordinates were directed perpendicular to the plane of the circle.- Use Utility-> Reset XForm-> Reset Selected to the selected circle object.
- Restore the Extrude modifier so that it ended up at the top of the modifiers stack.
- If you wish you can use Collapse To, that will apply changes in the XForm modifier to the base object.
A more complex example, when the same Circle rotated on several axes simultaneously (XYZ) to an arbitrary value degrees. It will be very difficult to manually rotate the object so that its plane becomes absolutely perpendicular to the Z axis in the World coordinates. How to be in this case, we talk in the second part of the article, and also about scaled objects, Skin modifier and others.

thanks… it was very useful